
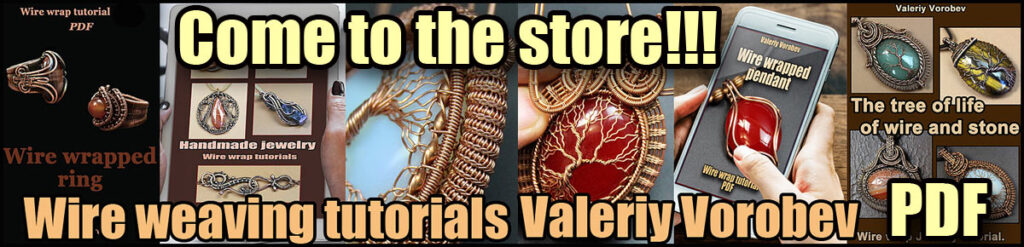

Wire Wrapped Stone Pendant. The Beginner’s Guide to Wire Wrapping Stones. Wire wrap tutorial. A step by step guide.
If you have ever thought about learning how to wrap stones in wire to make jewelry but didn’t know where to get started, you’ve come to the right place. Wire wrapping stones is actually much easier than it looks and learning how to do it enables you to create beautiful, one-of-a-kind jewelry pieces using only a few basic materials. In fact, all you need to get started is a gemstone, some wire and two types of pliers. Keep reading to discover how you can start creating unique jewelry by wire-wrapping stones.

Supplies for Making Wire Wrapped Jewelry.
The wire is, of course, one of the most important supplies when it comes to making wire-wrapped jewelry. It comes in various materials, gauges and strengths, and choosing what you need can be a bit overwhelming. Copper wire is the most common and affordable option, so it is perfect for beginners.

Copper is a popular choice for making jewelry for many reasons. It is a beautiful color and has many possibilities for lovely patinas, is easy to work with, and it is relatively inexpensive to purchase. Most jewelry suppliers should have a wide variety of copper wire sizes, shapes, and tempers to choose from. Copper is slightly softer than sterling silver, but for the most part is still comparable. Copper is often recommended as a great material for beginners who would like to practice working with wire before graduating to the more expensive sterling silver option.
Use appropriate wire thickness.
I make jewelry of wire 1 mm (18 ga) wire for the frames and 0.4 mm (26 ga) thick wire for the weaving.
You can use wire with a thickness of 0.8 mm (20 ga) wire for the frames and 0.3 mm (28 ga) wire for the weaving.
You’ll Need Jewelry Making Pliers.
1) Flat Nose Pliers
2) Wire Cutters
3) Optional Round Nose Pliers

Nylon jaw chain nose pliers are a very useful tool for anyone who does a lot of wire working.

I used a flat stone with a hole.

Wire Wrapped Stone Pendant. Wire wrap tutorial.

Discover Basic weaves to use with one, two, three and four… wire frames.
Once you know how to achieve the basic weaves, you can do so much with wire work. It is really simple when you know how.
I used 1 mm wire for the frames and 0.4 mm wire for the weaving as this helps to keep the weaving neat.

Basic weaves.
Tension is important when weaving. Too tight and you will pull your frame wires out of shape, but too loose and your weaving will be uneven.
Constantly tighten and snug your wire wraps as you go because if you wait too long and try to tighten out slack it will be very difficult to work your way back to the loose spot. Be sure to tighten everything up after every 2-3 wraps.

Avoid kinks in your weaving wire by catching them before they form. Gently untwist the wire before it is pulled tight.


When you have finished weaving, trim the weaving wire at the back of the piece, and secure by pressing firmly against a frame wire with flat nose pliers.

It would be nice to patinate copper wire. You can use ammonia vapours or special solutions. I have described this process many times in my previous articles. It also would be nice to polish the wire using polishing paste or polishing wax. If necessary, cover it with a special varnish.
How to make wire wrapped pendant step by step.
Nylon Mesh tubing necklace tutorial. DIY.
Wrapped jewelry tutorials PDF


